Being a handy homeowner can be an ideal way to save money as you take care of your home’s needs. But when it comes to roof repair, it is important that you take extra care. If you miss a step or don’t have the right tools and supplies, you could end up with a bigger problem on your hands.
To help you stay one step ahead of emergency roof repair, you can use roof repair tips such as checking for visible damage, patching up leaks quickly, and inspecting the flashing around your chimney.
Keep reading to learn more about how you can be ready for any emergency roof repairs that come your way.
8 Emergency Roof Repair Tips for Handy Homeowners
When living in an environment with harsh weather and storms, it’s important to be prepared for any roofing emergency that may arise.
You can experience problems such as an emergency roof leak, which can cause further damage to your home if not addressed quickly. However, with the right tools and materials, you can minimize damage and get your roof back in working condition.
Here are eight tips to help you repair your roof in an emergency:
1. Inspect the Roof Regularly
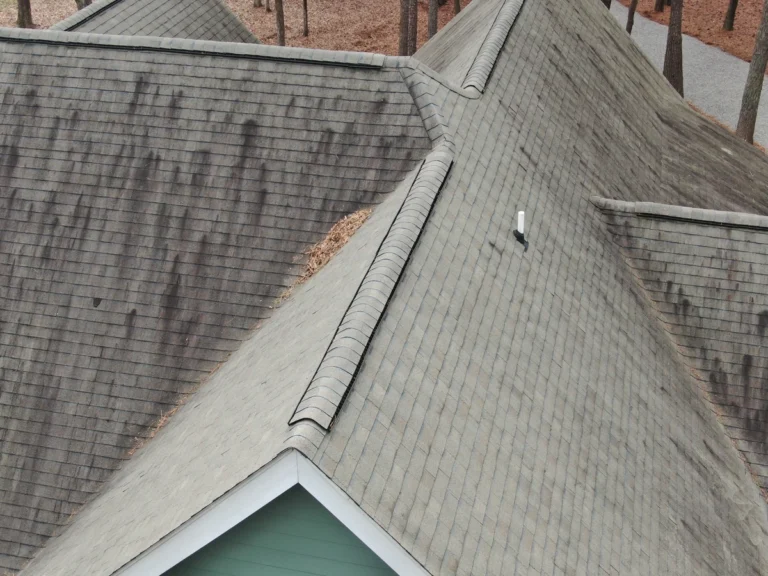
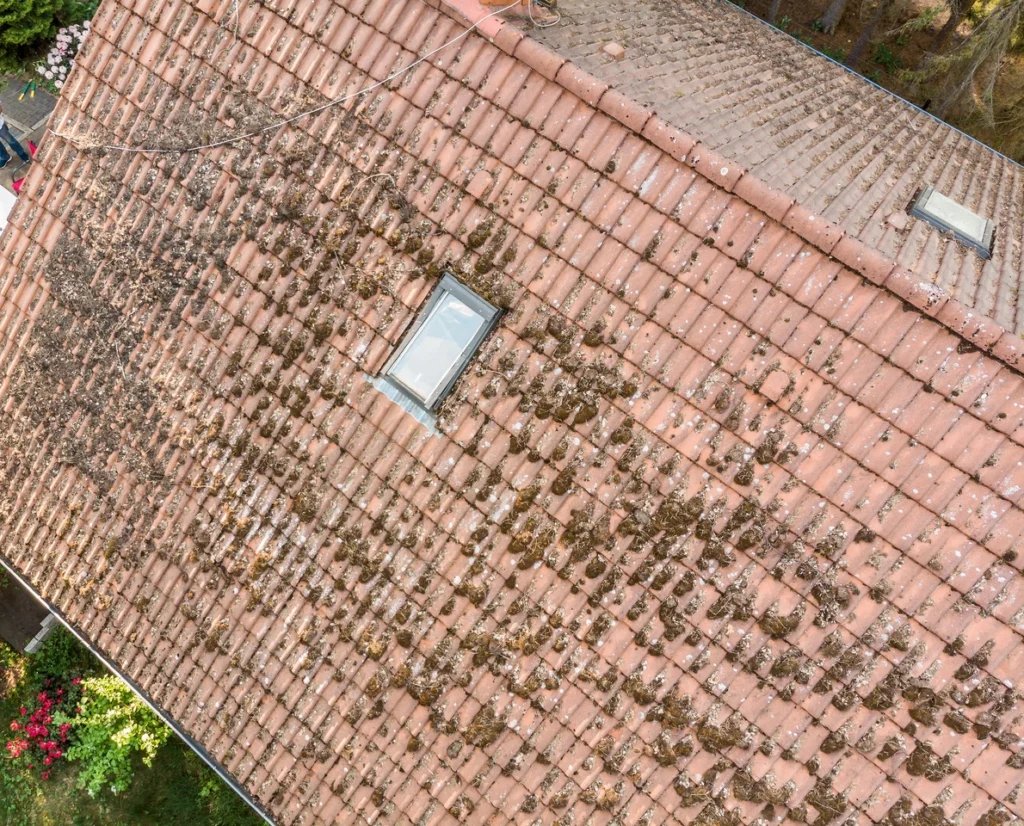
You can inspect your roof after harsh weather conditions or every few months to ensure it’s still in good condition. Check for any visible signs of damage, including missing shingles, holes, cracks in the roof, or a leaking roof.
For instance, after heavy rainfalls, it’s essential to check your gutters and downspouts for any back-ups or blockages. The overflows can cause increased water pressure and can create problems on your roof. They can also increase debris or clogs, which can cause further damage and compromise the structural integrity of your roof.
When you perform regular checkups, you can spot damage early and address it before it gets worse.
2. Document Damage
Once you’ve identified the roof damage, it’s important to document it with photos and notes. It can help you better understand what needs to be repaired and make it easier to provide details when seeking help from a roofing contractor.
You can register the damage in an online system or a physical logbook, where you can add notes about the repairs and materials used for each repair. You can also track the date of each repair and when it may need to be redone or replaced.
3. Tarp Any Leaks or Holes

If you’ve found any roof leaks or holes, the next step is to tarp the area. It can help stop water from coming in and further damaging the roof. You can pick up a tarp at your local hardware store, which is easy to set up.
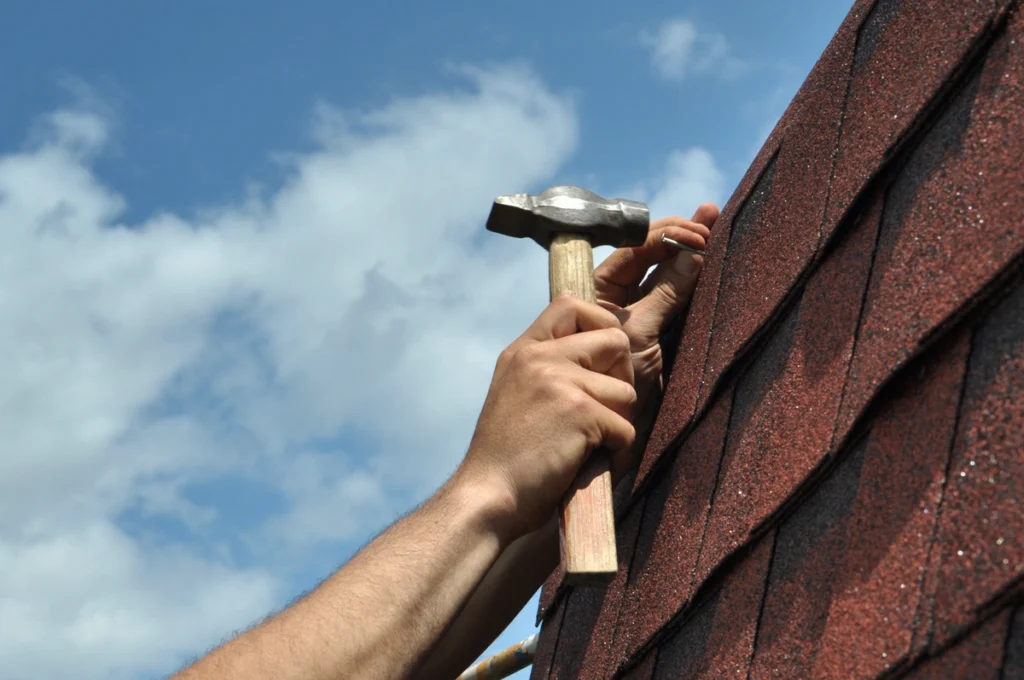
Simply lay the tarp over the damaged area and use a hammer or nail to secure it in place. Be sure to use nails that are slightly shorter than the tarp so that it does not poke through. However, tarping the area is only a temporary measure. You’ll need to replace or repair the roof as soon as you can for a more
4. Address Minor Repairs
If you’ve found small issues or minor repairs, such as missing shingles, you can address them immediately. You can pick up roofing supplies such as sealants and roof cement at your local hardware store to help patch the area.
You can also use these materials to patch any holes or cracks in the roof. Follow all safety guidelines and use protective gear when working on the roof.
5. Call Your Insurance
If your roof is damaged and needs extensive repair, it’s essential to contact your insurance provider. They can cover the cost of the repairs and help you recover any losses due to the damage. However, you need to check your policy documents for details on what is covered in case of an emergency repair.
When filing your claim, it is essential to provide the insurance company with all documents and photos of the damage so they can assess the extent of repairs needed. You can also ask for an estimate from a roofing expert and provide it to the insurance company.
6. Hire an Experienced Roofer
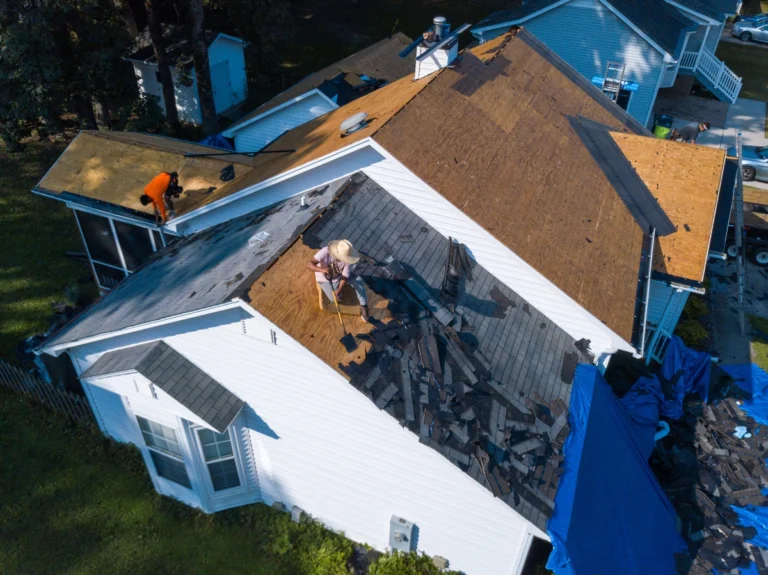
It’s essential to hire a team of professionals who can perform the repairs safely and correctly. An experienced roofer can help you assess the damage and provide you with an estimate of the cost of repairs or replacements.
They can also provide valuable advice on the best materials to use and explain what steps need to be taken to ensure a successful repair job.
7. Schedule Repair Work
Once you’ve contacted the insurance provider and organized a team of professionals to carry out the repairs, it’s time to schedule the repair work. It’s essential to keep in mind that the weather can affect the length of the job, and it’s best to schedule it when the weather is expected to remain dry.
It’s also essential to plan ahead and prepare your home for the work being carried out. You can move any furniture or other belongings that may be in the way of the repair work and cover up any valuable items with plastic sheeting.
8. Maintain Your Roof Regularly
After the repairs, it’s important to maintain your roof regularly to keep it in good condition. Maintenance can include regular roof inspections and cleaning to ensure that no damage has occurred since the last repair job.
Maintaining your roof regularly can help you save money in the long run, as you can spot and fix any issues before they become more serious. It’s also a good idea to keep records of each repair and maintenance job you’ve done in the past.
DIY Your Emergency Roof Repair Today
When your roof is damaged, it can cause stress, worry, and costly emergency repairs. However, with a few simple steps, you can repair your roof and have it running like new in no time. You can assess the damage, call your insurance company, and schedule your repair work with a team of experienced roofers.
You can also address minor repairs yourself, such as patching up missing shingles or holes. However, once the repairs are done, it’s essential to maintain your roof regularly to keep it in good condition and prevent any future problems.
Contact Sundance Kitchen, Baths, & Exteriors today for more information about roof repair and maintenance services.

